FBX-Exporter Tool
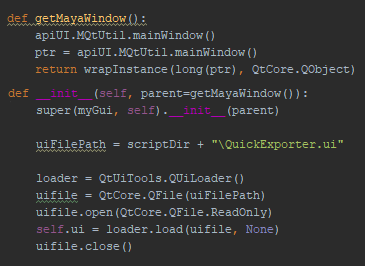
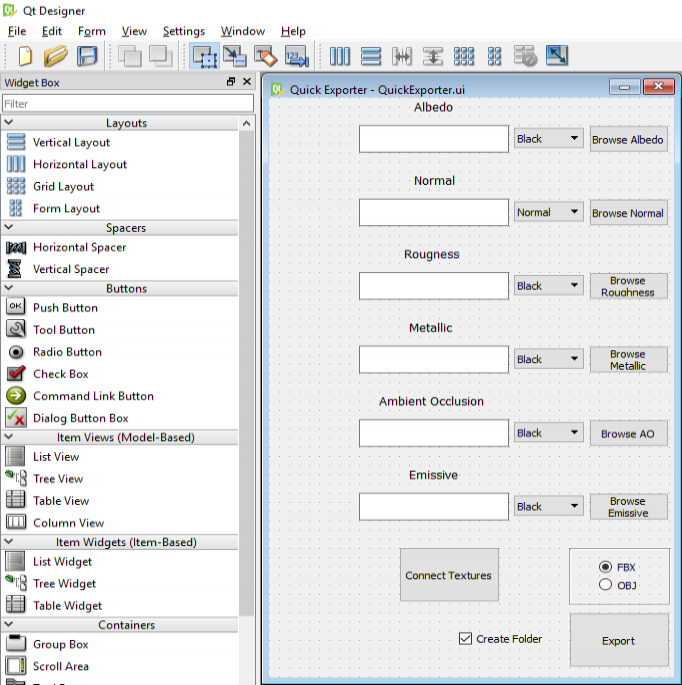
For this project I wanted to take a look at ways of creating custom UI elements inside Maya, preferably with the use of a visual design interface. Naturally QT with its Designer program was my first choice and I began researching how to set up the connection between PySide2 and the UI file that was exported from Designer.
After this connection was made, I was free to design an interface using QT's Designer program. Any change I wanted to view in Maya only requires the UI file to be saved and the Python script to be reloaded.
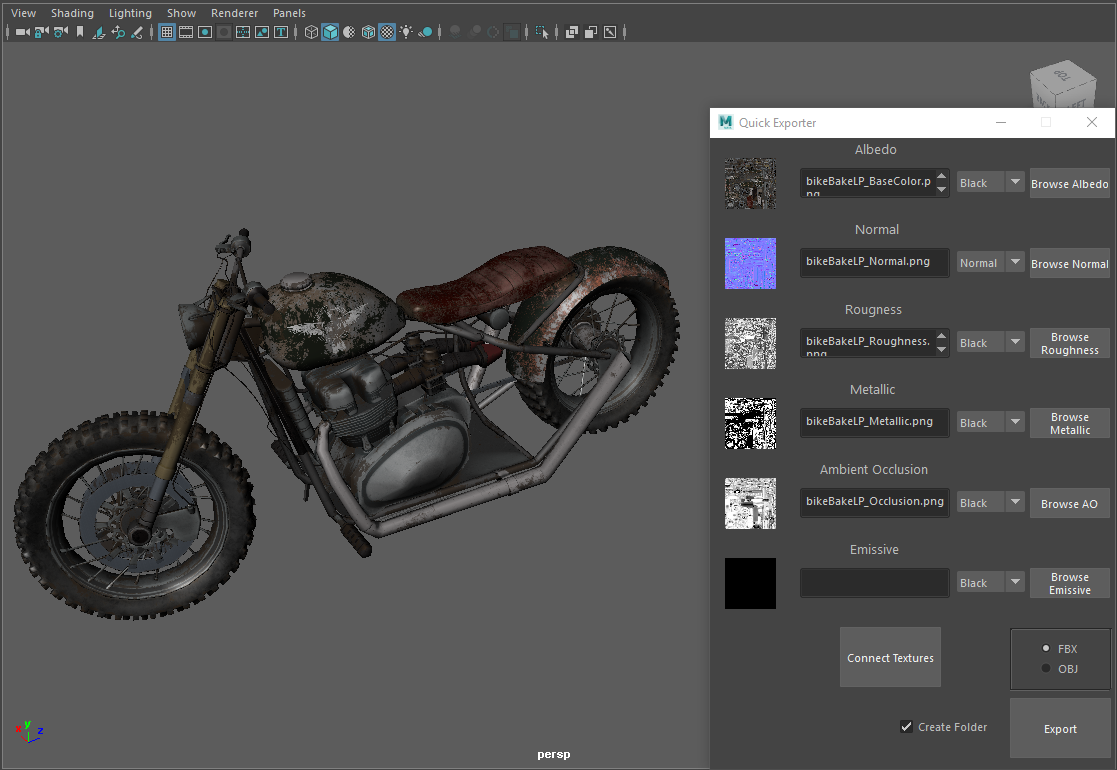
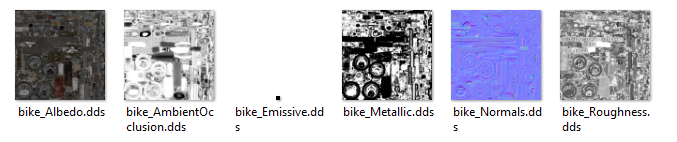
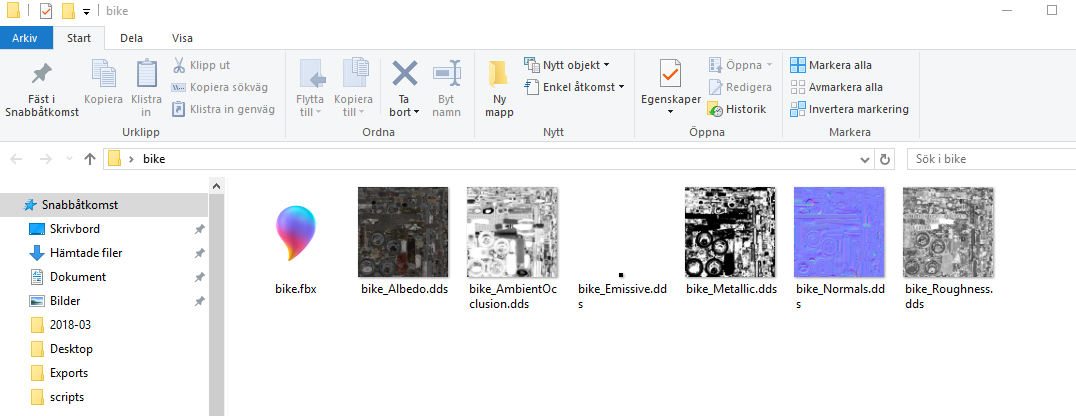
The idea behind this exporter and its interface came to me after a discussion with one of my artists. He said that it would be nice to have a 'smaller', more efficient exporter for placeholder objects at the start of a project, rather than using our normal FBX-export pipeline. The basic concept behind this Quick Exporter is that the user is free to choose any textures he/she wants; if any channel is left empty the script will automatically add a 4x4 pixel texture. The colors of these textures can be changed with each dropdown box in the interface. The name of each texture file is changed to follow our naming convention standard.
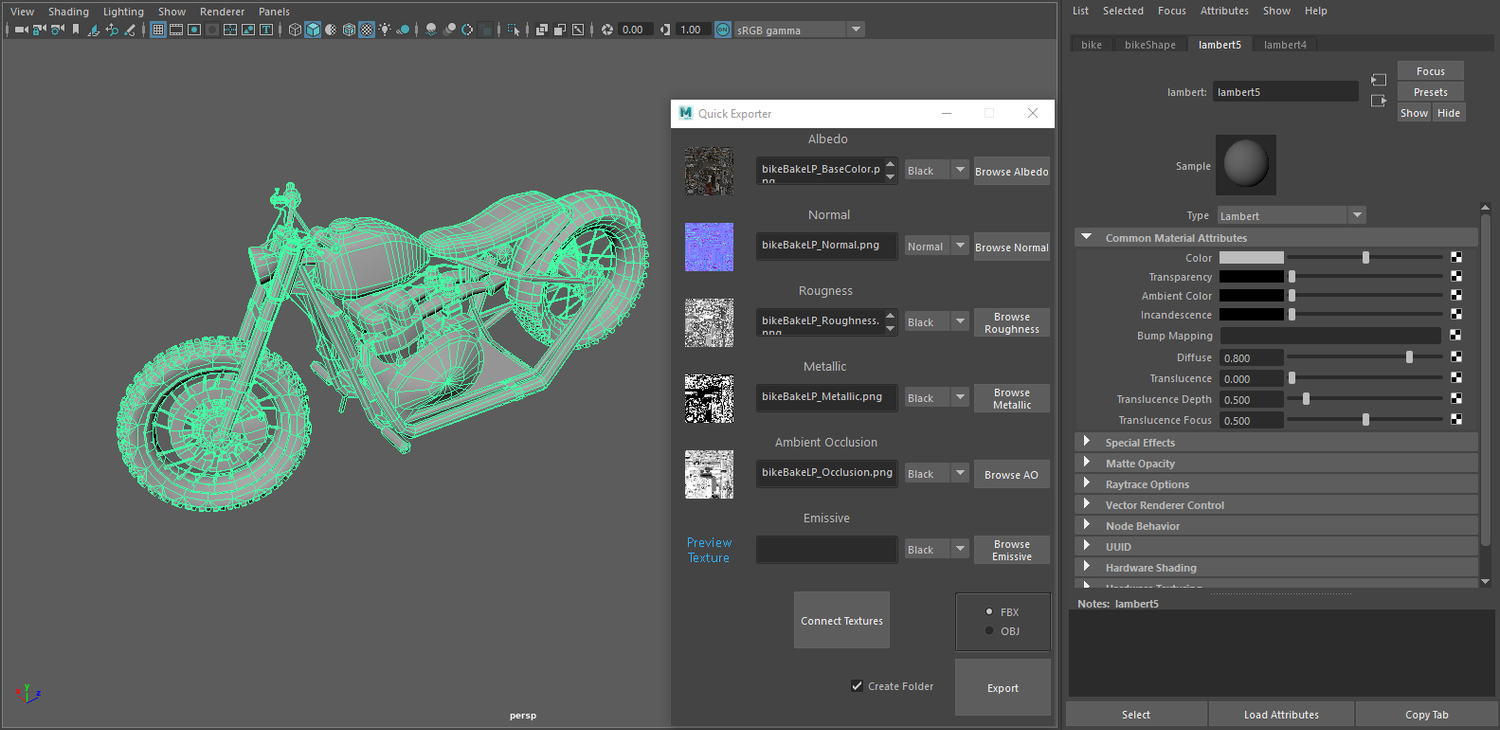
After the user clicks the 'Connect Textures' button, a new material is created and all textures will be connected to their respective appropriate channels in Maya.
When this step is done, the model is ready to be exported into either an FBX or an OBJ.
The last neat feature that the Quick Exporter offers is that, after the user clicks 'Export' and chooses a directory to export the files to, it will move everything into a new folder, with the same name as the model (another one of our naming convention standards).
Final thoughts and lessons learned
This project has been the most enjoyable project I've worked on so far, both in terms of how much I've learned about Maya, Python and QT, but also from hearing nothing but positive comments from my artists who have been (and still are) using it regularly. The way the tool connects textures and then copies them to a folder, essentially creating an asset package with only a few clicks, has been an enormous time saver for my colleagues.
3D model and textures were kindly provided with permission from Tomas Tagesson.
Research and development of this project was conducted at The Game Assembly as part of an Advanced Technical Specialization course.
Last updated: 31st May 2018